Cheap Light Bars Are a Lawsuit Waiting to Happen — Here's What Actually Cuts Through the Dark

Updated: Sep 9
Cheap Light Bars Are a Lawsuit Waiting to Happen — Here's What Actually Cuts Through the Dark
You know the one. That $25 "LED light bar" from a mystery seller that looked like a beam cannon in the listing photos and turned out to be a glorified nightlight strapped to your bumper. Bad lighting isn't just annoying — it's the difference between spotting a deer at 80 feet and spotting it at 8.
Why Most Budget Light Bars Are Garbage
Here's the dirty secret of cheap light bars: the box says "20,000 lumens" and the reality is maybe a tenth of that once you factor in cheap diodes, garbage reflectors, and zero thermal management. LEDs that overheat don't just dim — they die. Fast.
What separates a light bar that actually works from one that's basically a paperweight comes down to a few things:
Real lumen output — not the inflated number on the box, the actual beam pattern on the ground
IP67+ waterproof rating — mud, rain, and trail grime should never be a light bar's kryptonite
Combo beam pattern — flood for peripheral awareness, spot for long-range punch
Aluminum housing with real heat sinking — this is what keeps the diodes alive past week two
The Close-Up That Tells the Whole Story
Pop the housing off a quality bar and you'll see the difference immediately — thick aluminum fins, a proper gasket seal, and diodes that are actually soldered right instead of glued on with hope.
What We're Running
We're pointing you at the Nilight LED 2-pc Light Bar — a two-piece setup that gives you flexibility most single-bar kits can't touch. Run one up top as a flood for wide visibility, mount the second lower as a spot for reach down the trail. It's the kind of upgrade that changes what "driving at night" even means.
Installing It Isn't Rocket Science
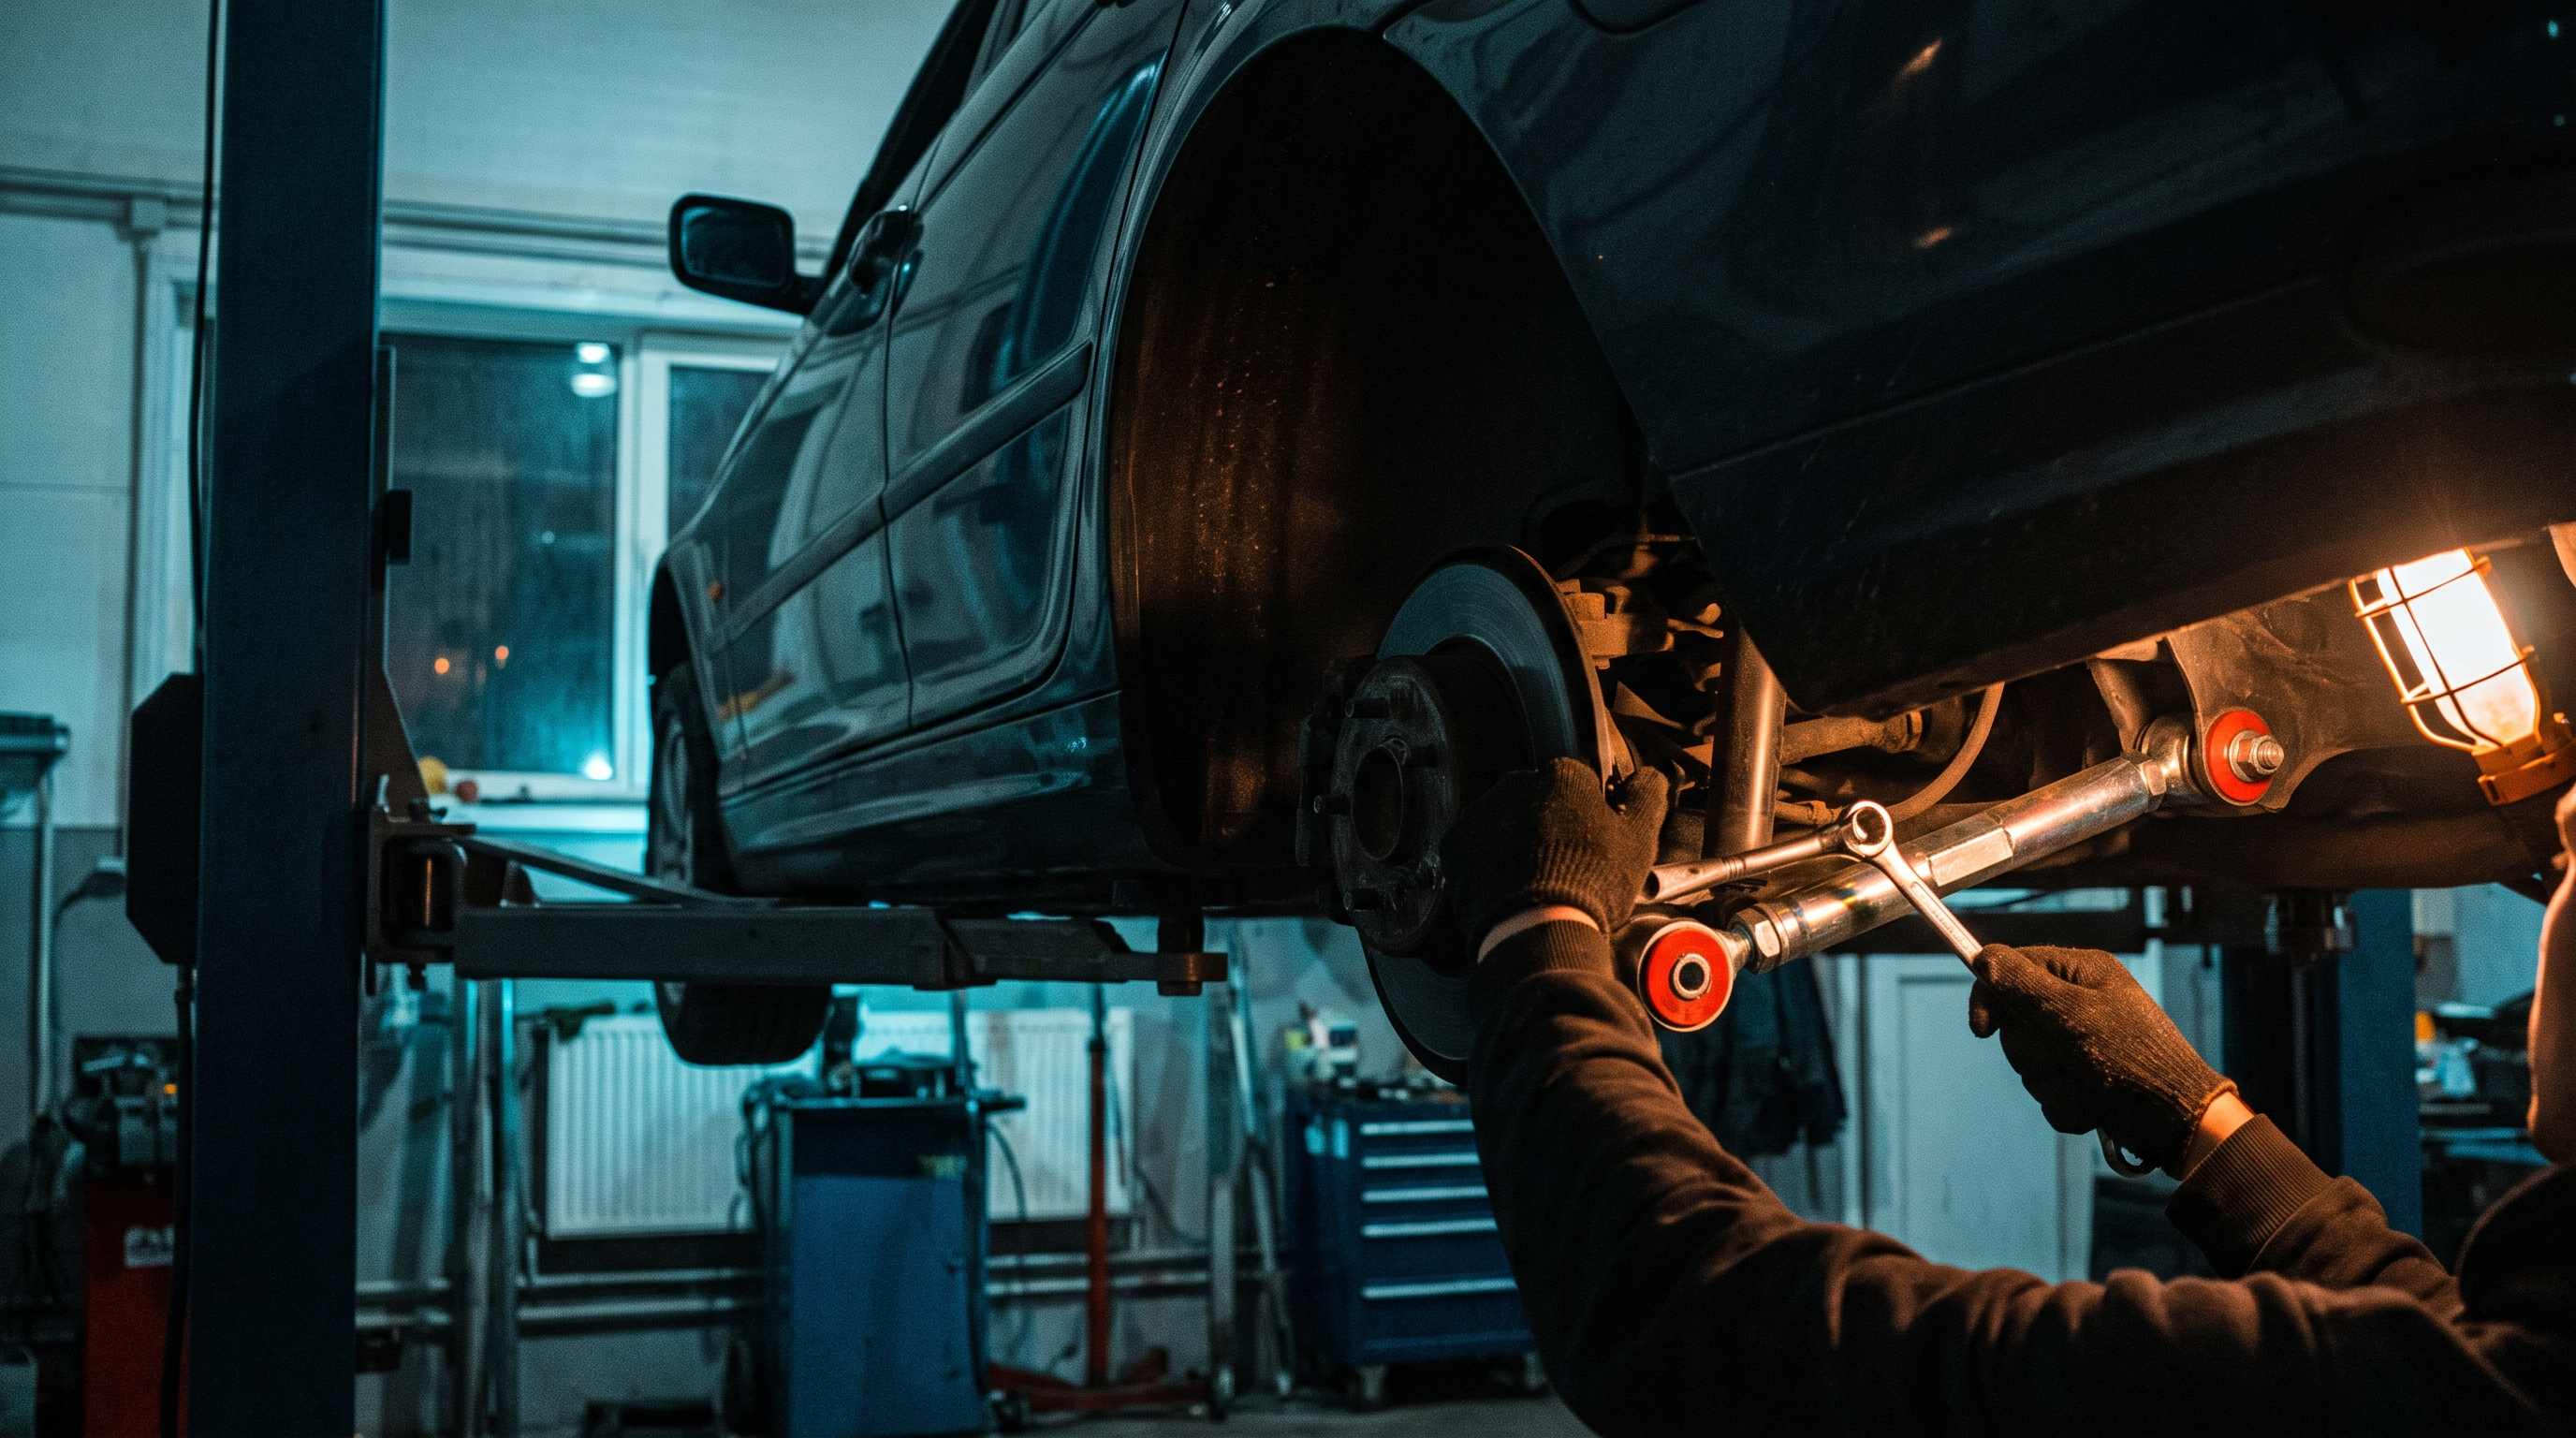
This is a genuine bolt-on, wire-up job — no fabrication required for most trucks and SUVs with a bumper or roof rack mounting point. Budget 45-90 minutes if it's your first time running a relay harness, less if you've done it before.
Quick punch list before you start:
Plan your wire run and relay location first — don't just start crimping
Always fuse close to the battery, not close to the light
Use dielectric grease on every connection near the elements
Test everything before you button up the panels
Budget vs. Premium: The Real-World Difference
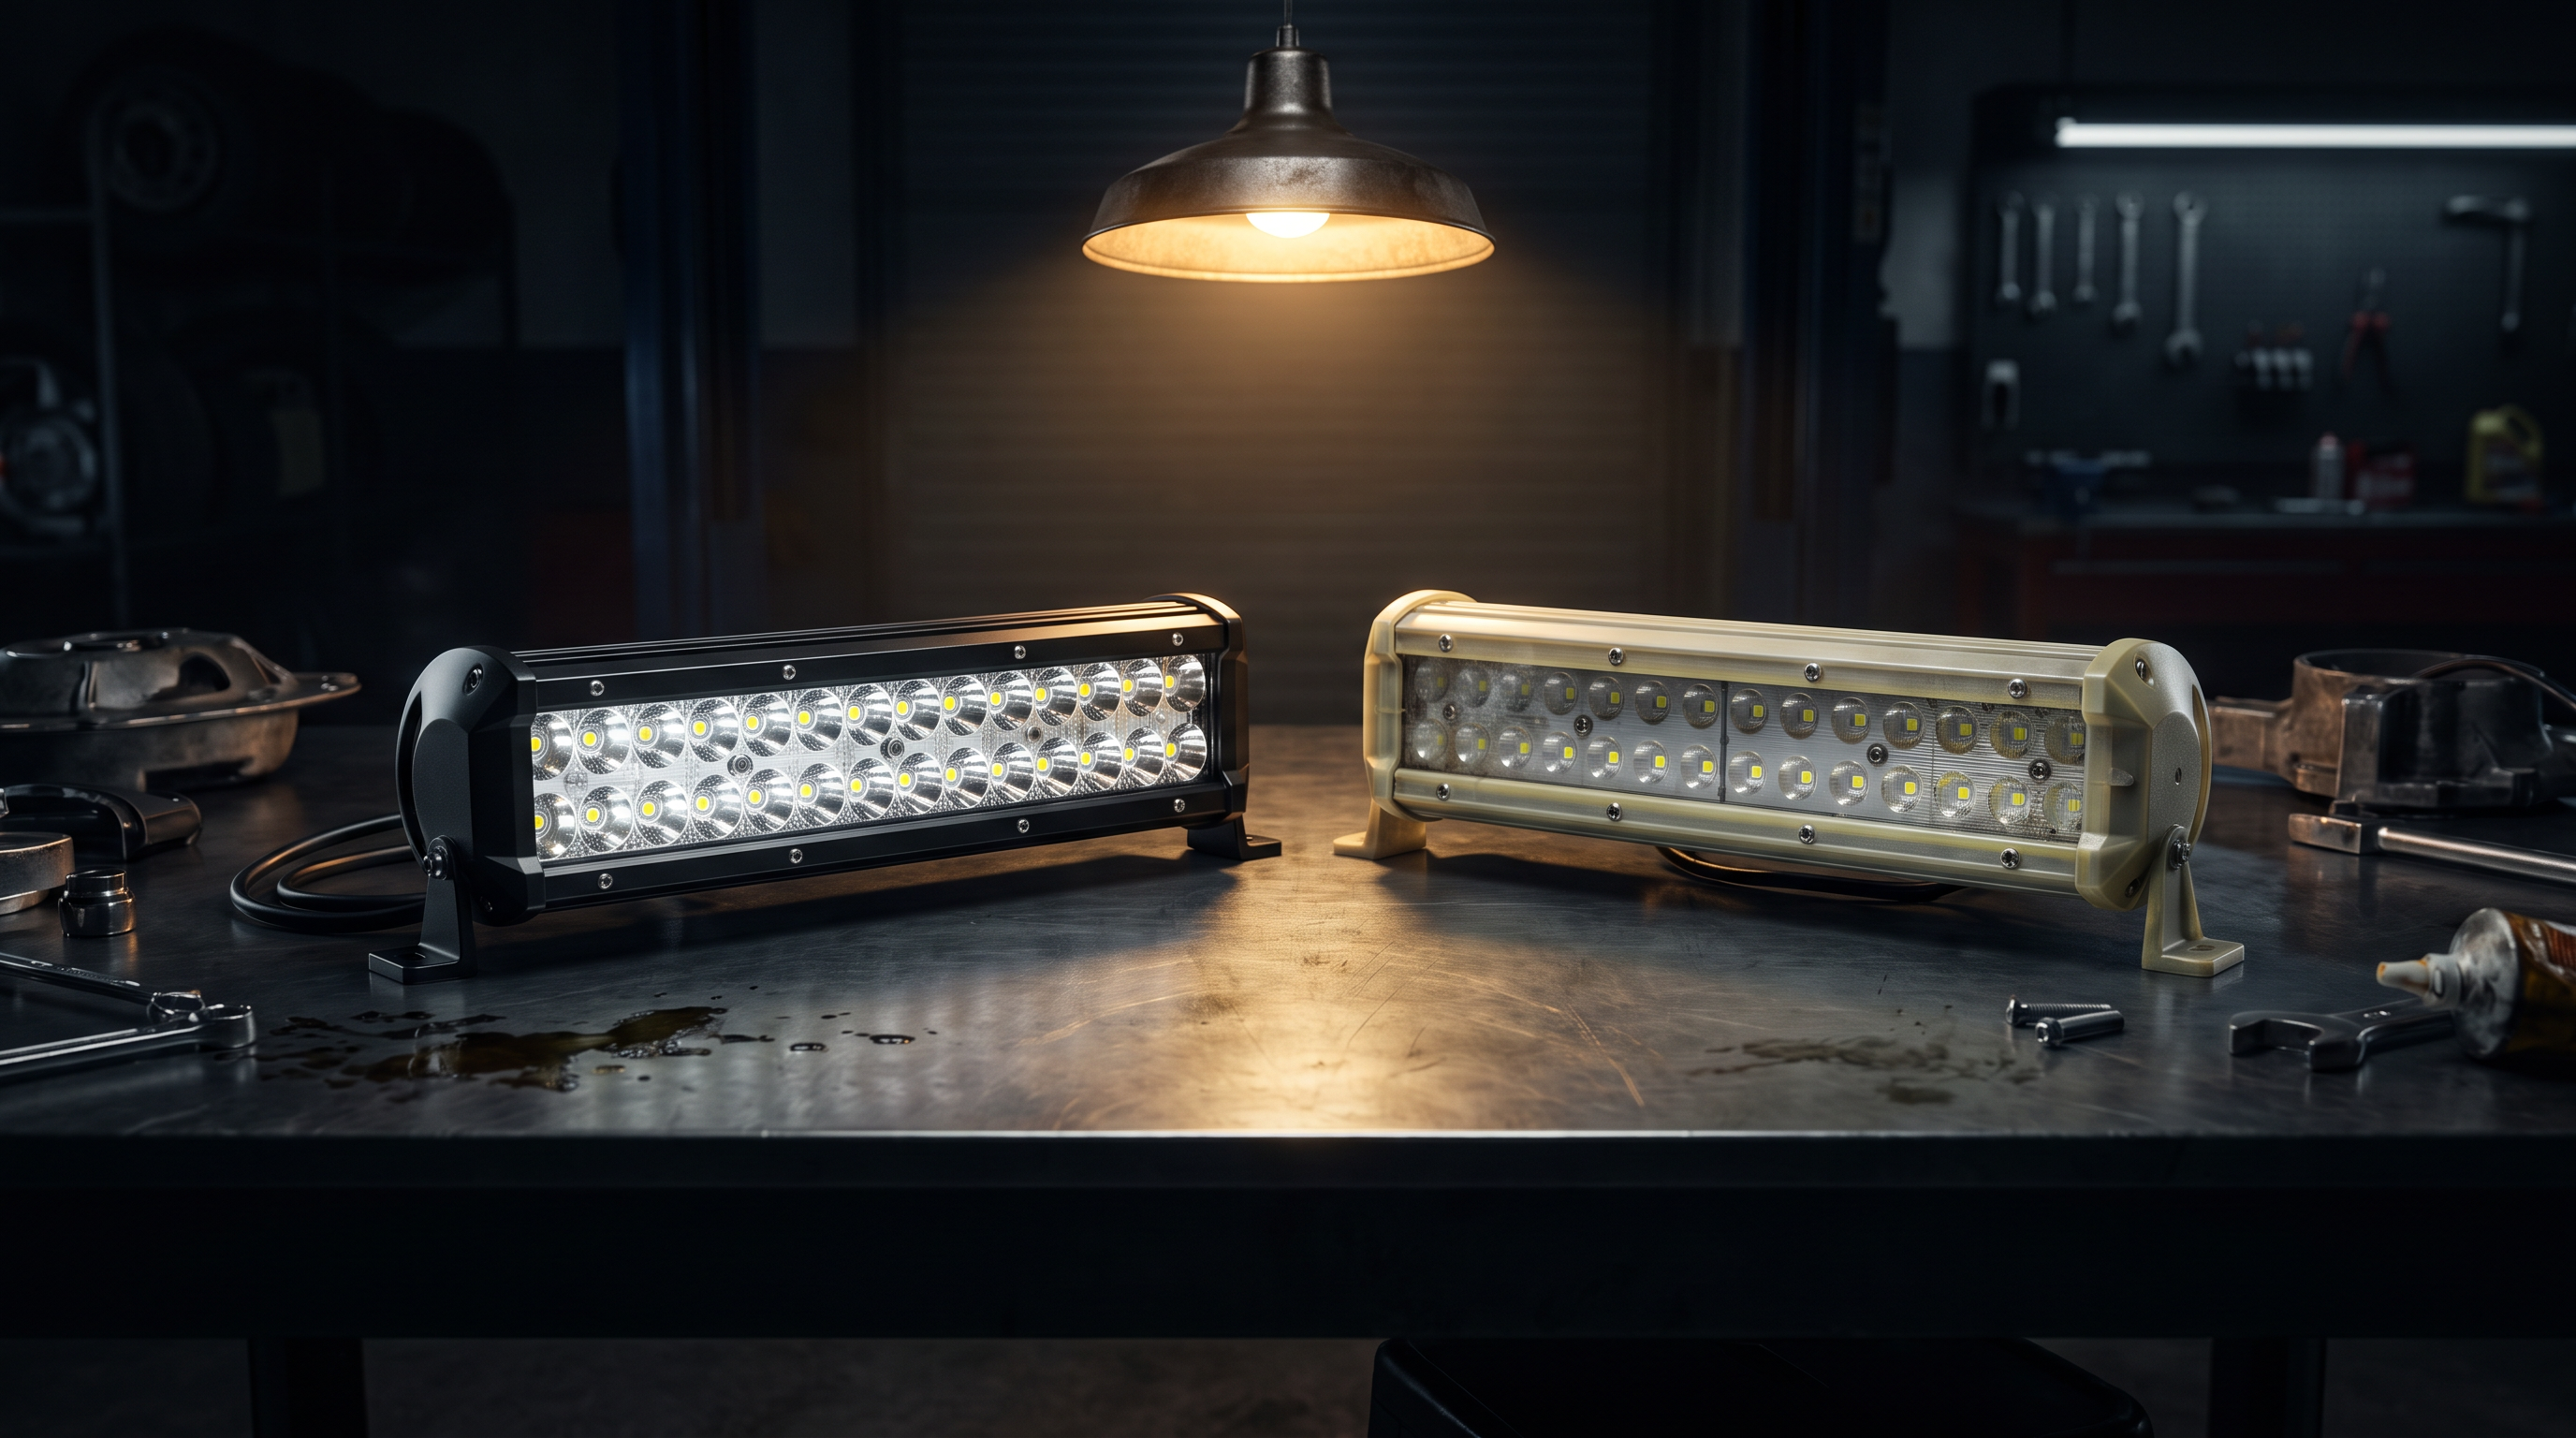
We've all seen the side-by-side trail shots, and they're not exaggerated. A cheap bar gives you a dim yellowish smear that barely reaches past your hood. A properly built bar throws a crisp white wall of light that lights up the whole trail ahead — the kind of visibility that actually lets you react to what's coming.
That gap isn't marketing spin — it's physics. More real lumens, better optics, and a beam pattern engineered instead of guessed at.
Automotive lighting tech and off-road builds get covered regularly over at MotorTrend.
Bottom line: a light bar is only as good as what's actually inside the housing — spend where it counts and you'll never squint into the dark again.
What's on your rig right now — flood, spot, or combo? Drop it in the comments.
Frequently Asked Questions
Why are cheap LED light bars bad?
The listed lumens are often inflated tenfold. Cheap diodes, poor reflectors and no thermal management mean the real output is a fraction of the box number, and LEDs that overheat fail fast.
What makes a good LED light bar?
Honest lumen output measured as an actual beam pattern on the ground, an IP67 or better waterproof rating, a combo flood-and-spot beam, and an aluminum housing with real heat-sink fins to keep the diodes alive.
How can I spot a quality light bar?
Look for thick aluminum cooling fins, a proper gasket seal, and diodes that are soldered rather than glued. A quality bar's housing feels substantial and seals tightly.
Comments